FIELDS OF MISTRIA · 1.0.2
Farm Layout Ideas & Step-by-Step Guide
Build a practical Fields of Mistria farm layout from a blank map with a step-by-step plan for crops, storage, orchards, animals, paths, decoration, and future expansion.
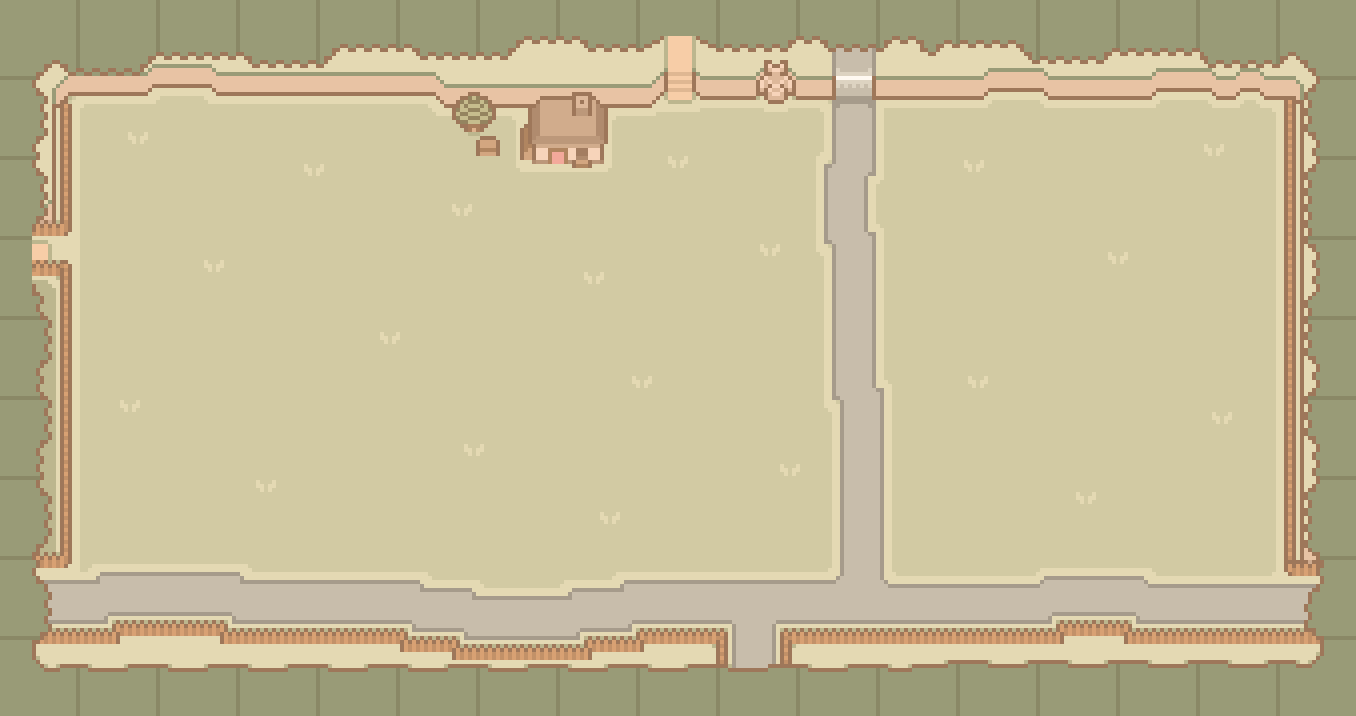
The short answer
A good farm is a daily route with room to change
Anchor the plan on the fixed farmhouse, keep crops and daily storage close, place large movable buildings before paths, and reserve the right side for expansion. Once the chore loop works, use trees, fences, furniture, and seasonal pieces to turn functional borders into decoration.
Building size reference · 1.0.2
How much space do barns, coops, and greenhouses need?
Reserve the encoded footprint first, then add extra space for the entrance, paths, fences, feed chests, and grazing. The planner is for testing zones; it is not a tile-perfect simulation of the whole farm.

Small Barn
14 × 10Stone ×75 · Wood ×100
Holds 4 animals
Medium Barn
16 × 12Stone ×100 · Wood ×125
Holds 8 animals
Large Barn
18 × 12Stone ×125 · Wood ×150
Holds 12 animals
Small Coop
12 × 10Stone ×50 · Wood ×75
Holds 4 animals · 1 incubators
Medium Coop
14 × 12Stone ×75 · Wood ×100
Holds 8 animals · 2 incubators
Large Coop
16 × 12Stone ×100 · Wood ×125
Holds 12 animals · 4 incubators
Small Greenhouse
12 × 6Refined Stone ×20 · Glass ×20 · Hard Wood ×20

Large Greenhouse
14 × 8Refined Stone ×40 · Glass ×40 · Hard Wood ×40

Mini Museum
14 × 8Refined Stone ×40 · Hard Wood ×40
Original zone blueprint
One flexible layout, six clear jobs
This is a planning example, not a tile-perfect template. Swap the crop and ranch sides if that better matches your routine.
1Home spine2Crop blocks3Orchard4Ranch loop5Work & decoration6Expansion reserveHome spine
Farmhouse → daily storage → shipping/mailbox → farm exit. Keep it open in every season.
Crop blocks
Near home, split into manageable watering beds with a chest and spare border.
Orchard
Group seven fruit trees by fruiting season and keep clear walking lanes between rows.
Ranch loop
Barns/coops, gates, grazing grass, feed storage, and product chests should form one loop.
Work & decoration
Use awkward corners for crafting, seating, shrines, seasonal scenes, and collected furniture.
Expansion reserve
Keep the right edge flexible until the farm expansion and later buildings have permanent homes.
From blank farm to finished layout
Build in this order
The order matters more than the final style: solve expensive and hard-to-move decisions first, then add reversible details.
- 01
Write down your daily loop
Start with what you actually do: leave the farmhouse, check storage and shipping, water or inspect crops, care for animals, then head into town. The shortest useful layout is the one that makes this loop obvious.
- 02
Clear selectively, not completely
Open the routes and footprints you need first. Keeping unused corners rough saves early stamina and preserves a visual buffer while the plan is still changing.
- 03
Set camera zoom to 1x and sketch zones
Set Settings -> Display -> Zoom to 1x to see the whole farm at once. Think in blocks before individual tiles: home and storage, crop beds, orchard, ranch, production, decoration, and reserve. Use the planner to test proportions without spending materials in game.
- 04
Place the biggest footprints first
Barns, coops, and greenhouses determine the surrounding paths, gates, grass, and work space. Reserve their future footprint even if you cannot build them yet; small decor can always fill gaps later.
- 05
Build one main path and short branches
Connect the farmhouse to the farm exit, crops, ranch, and expansion edge. A clear spine prevents beautiful zones from becoming isolated islands and makes later rerouting cheaper.
- 06
Put storage where the item is used
Keep seeds and harvest supplies at the crop edge, feed and animal products on the ranch loop, and building materials near a central work area. One giant distant storage wall looks tidy but adds walking to every chore.
- 07
Add paths, fences, then decoration
Paths define movement, wooden fences can be jumped over freely, and furniture gives each zone a story. Use stone stool stacking to elevate lamps or vases vertically, and decorate in layers so seasonal pieces can change without forcing a full rebuild.
- 08
Test it for three ordinary days
Do not judge the layout from a screenshot. Run your normal chores for several days and note every backtrack, blocked gate, awkward watering edge, or chest opened twice. Fix those friction points before polishing.
Current mechanics that affect the plan
Numbers worth planning around
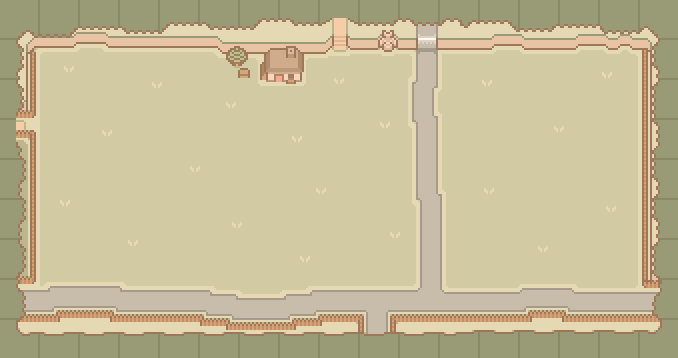
Right-side farm expansion
Unlocks the land to the right and grants the Starter Farm Bridge plus its recipe.
40,000t · 50 Refined Stone · 50 Hard Wood
Large Water Sprite Statue
After an Essence Stone is applied, the large statue automatically waters crops in a 3-tile radius. Design the crop block around the current 3-tile value, not older 2-tile advice.
Greenhouse footprints
A small greenhouse blueprint requires 20 each of Refined Stone, Glass, and Hard Wood; a large one requires 40 each. Reserve the site before decorating around it.

Grass for the ranch
The Mill recipe turns 2 Grass Seed and 1 Sod into Grass Starter in 20 in-game minutes. Establish the grazing area after gates and walking routes are settled.
Seven fruit trees
Plant any time; group by fruiting season
All seven saplings can be planted in any season, but each fruits only in its listed season. Leave clear space and a walking lane around new trees, then use the seasonal groups as a natural border between zones.
 Cherry SaplingSpring
 Lemon SaplingSpring
 Peach SaplingSummer
 Pear SaplingSummer
 Apple SaplingFall
 Orange SaplingFall
 Pomegranate SaplingWinter
Choose a visual grammar
Grid, organic, or a deliberate mix
Structured grid
Parallel beds, straight paths, repeated trees, and mirrored entrances make chores readable and expansion predictable.
Organic paths
Curved paths, uneven borders, small clearings, and layered plants feel lived-in. Keep the main chore route straight enough that style does not create friction.
Functional core, organic edge
This is the safest default: use a grid for crops, storage, and ranch work; soften the perimeter with orchards, seating, shrines, and seasonal scenes.
Before you commit materials
Final layout check
- The farmhouse-to-exit route remains clear.
- Seeds, feed, and products each have storage at their point of use.
- Barn, coop, and greenhouse footprints were reserved before decoration.
- Crop blocks match the watering method you currently use.
- The right-side expansion can connect without demolishing the main route.
- You tested the route in play before placing expensive decoration.
Community references
See the original layouts and explanations
This page combines the two creators’ practical ideas, independently reorganizes them around a planning workflow, and updates hard mechanics against the local 1.0.2 game data. Style and profit opinions remain creator experience, not universal rules.
A clear from-scratch workflow for clearing, sketching, buildings, paths, orchards, and decoration.
A fifth-year farm walkthrough with practical zoning, storage, greenhouse, ranch, and decorative examples.